Welded and Dewelded Surface Mount Components in Electronic
As a professional SMT patch processing company, yt-electronic will introduce you to the relevant knowledge of welding and de-welding surface mount components.
Table of Content
- The List of Tools and Materials
- Step 1: Prepare Your Printed Circuit Board
- Step 2: Position the Component Precisely Using Tweezers
- Step 3: Solve the Corner Problem
- Step 4: Flux
- Step 5: Welding
- Step 6: Heat Up the Wick for a Stable Adhesion.
- STEP 7: Welding
- STEP 8: Reconnect Any Remaining Weld Joints.
- Step 9: Wipe the Area with Alcohol.
These instructions will help you overcome challenges that you may face when you are first learning to
weld surface mounted components. You will be able to weld components that have pins with a pitch of up
to 0.5 mm after completing this tutorial.
Shenzhen yt-electronic is a professional SMT processing company. It will provide you
with the necessary knowledge to weld and de-weld surface mounted components in electronic.
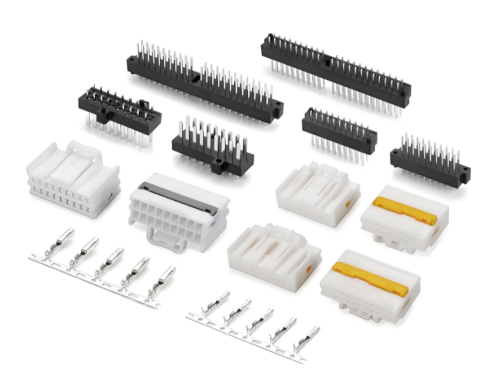
The List of Tools and Materials

1. A welding iron, model x1, digital or analog.
2. The PCB equipped with appropriate pads.
3. Surface mount devices (SMD) that match the pad size.
4. Water-soluble welding is preferred, but rosin core is acceptable.
5. Dewelding braid is used to remove welding joints.
6. Flux and matching application.
7. Two pairs of tweezers.
8. Rub alcohol is required if you are using rosin-core welding.
9. You will need clean water to use water-soluble weld.
10. Anti-static cloth.
Step 1: Prepare Your Printed Circuit Board

1. Check that the size of the PCB pads corresponds to the exact size of the SMD pin.
2. Remove all dust and residues from the PCB surface.
3. Set the temperature of the welding iron to 600-700 degrees.
Warning: If you accidentally touch the welding head when the welding iron reaches this
temperature, it can cause burns.
Step 2: Position the Component Precisely Using Tweezers

Align the pins of the component with the pads of the board. It is very important to correctly identify
“Pin 1”, each time you install a component, since most surface-mount components have the exact
same number of pins both on the front and back.
Step 3: Solve the Corner Problem

1. Use tweezers for a steady hand and to ensure that the component is in position.
2. The welding iron should now be hot. Create a large welding joint on the tip.
3. Choose a pin at any corner of the component.
4. Hold the welding iron and gently touch the pad that corresponds to the pin.
5. Even if the pins are not connected, the weld should naturally transfer from the board pad onto the
component pin if done correctly.
Step 4: Flux

Its main purpose is to stop welding from beading, and to ensure that the flow of welding metal from the
iron to the board is smooth. The purpose of applying flux to the board to make welding easier is to
reduce bridging.
1. This substance is messy and must be applied using an applicator. In this instance, I used a brush
with a metal end.
2. Use the correct flux on your applicator.
3. Apply the flux evenly on the pins of the other side component fixing step.
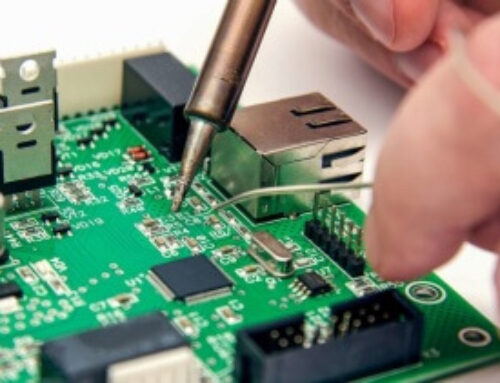
Step 5: Welding

1. Hold the welding iron with one hand, and the other in the manner shown.
The pad should be heated, not the component pin.
3. The pad will melt the pin if the pin is too hot. The heat will melt it.
4. Repeat these steps as necessary.
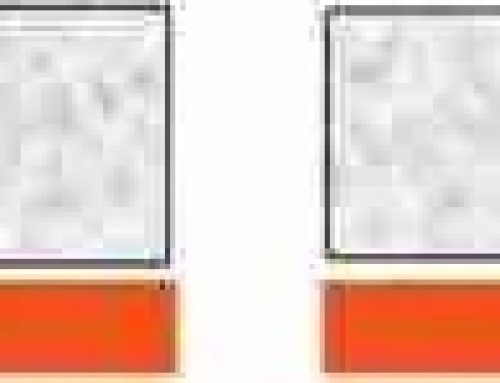
Step 6: Heat Up the Wick for a Stable Adhesion.

During the preceding steps, it is not uncommon to see a welding bridge. In the image below, you can see
how a welding-bridge looks.
The process can also be used to remove electronic components on a circuitboard.
1. Remove the core from the welding machine, and place it on top of the welding that needs to be
removed.
2. Apply gentle pressure with the welding iron on the core of your welding machine to ensure heat is
transferred effectively to the welding.
WARNING The heat transfer during the welding process is largely dependent on the welding and not the
pressure. Over-pressure can cause pins or pads to be removed from the component, which could damage the
circuit board or components.
STEP 7: Welding
Repeat step 5 for the other side of the board.
STEP 8: Reconnect Any Remaining Weld Joints.

Remove any unnecessary bridges using the above method.
Step 9: Wipe the Area with Alcohol.
Use water instead of rubbing alcool when using water-soluble welds.
Pour a suitable amount of alcohol on an anti-static towel.
2. Wipe the area gently around the newly-welded components, and in any other areas that have excess
flux. This will make you look more professional.

related Posts
Contact us
WhatsApp: +86-13570802455
Wechat: +86-13570802455
Teams: alek_youte
Email: sales@yt-electronic.com

